

Most people have never seen leak detection done. They picture someone wandering around with a gadget, or worse, a crew with a jackhammer guessing where to start.
It is neither. Here is what pool leak detection in Chandler actually looks like, step by step. The stills come from a video Brandon shot while standing in the pool.

The Setup: A Chandler Play Pool
This was a play pool. That means a shallow, fairly even depth all the way across with no deep end. Families across Chandler and Gilbert like them for exactly that reason. Underneath, though, they carry the same plumbing as any other pool.
A pool that loses more water than evaporation explains is losing it somewhere else. In an Arizona summer, evaporation alone can account for a quarter inch a day. So the first job on any call is separating normal loss from a real leak.
This pool sat drained for the work, so every fitting and line was in plain view. That is not the norm. Most of our pool leak detection in Chandler happens with the pool full, which is part of why this video is worth watching. A dry pool shows you what is normally hidden.
Step One: Cap Off the Lines
The first real move is isolation, and it is the step most people skip.
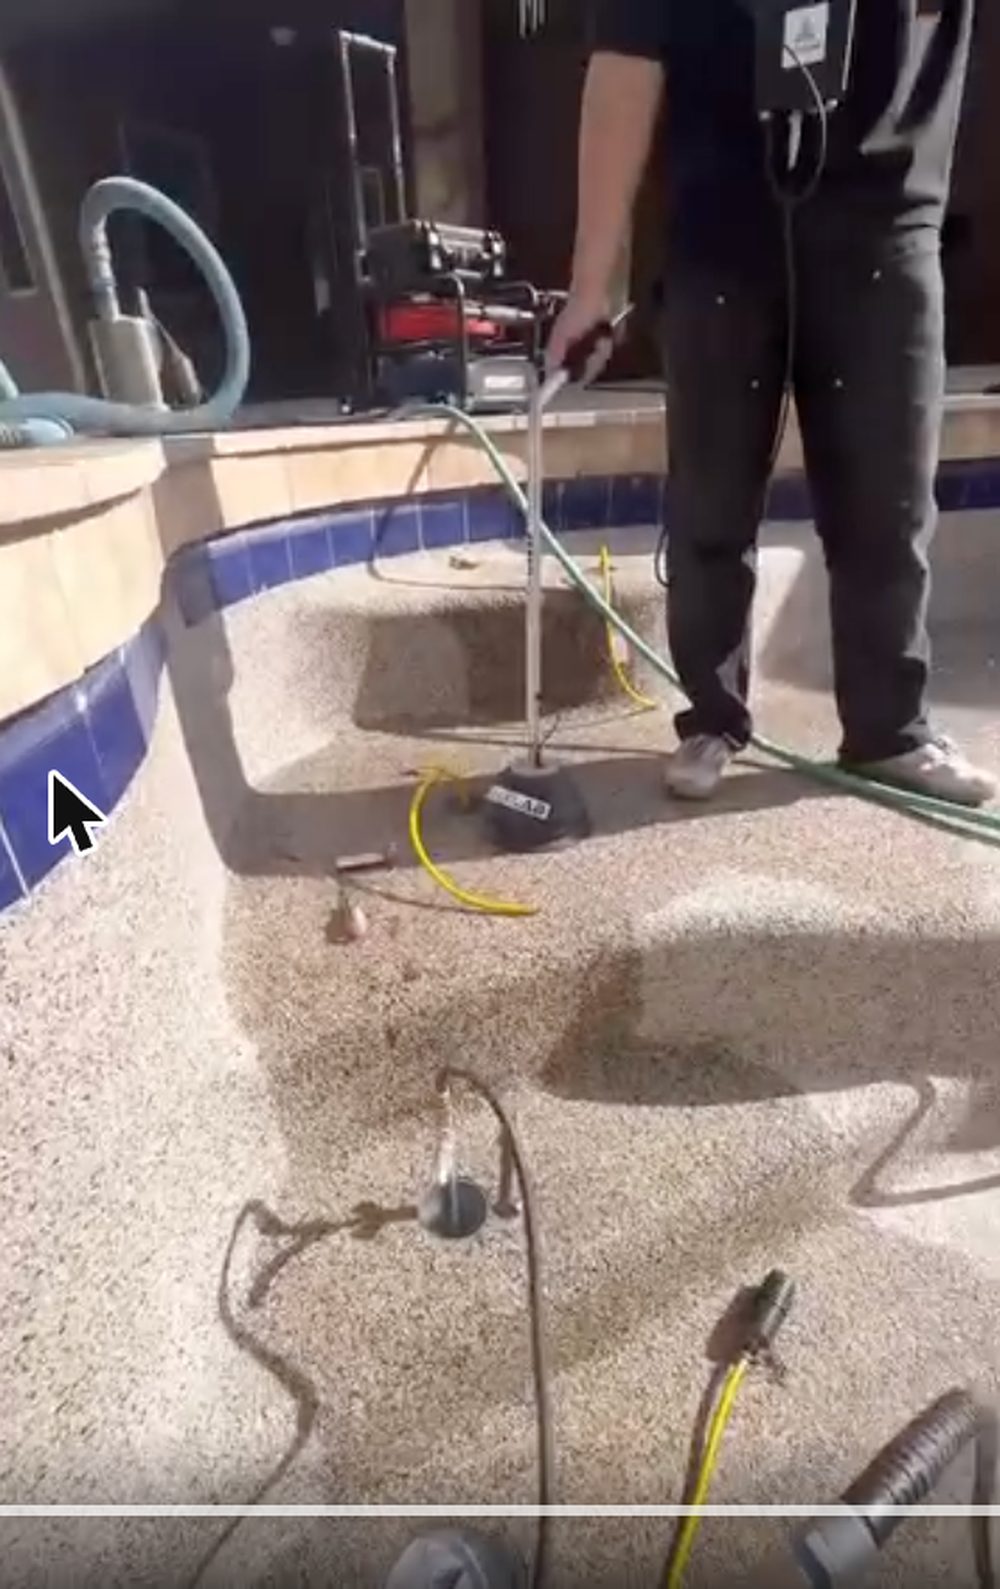
Brandon is plain about it in the video. He has capped off the lines one at a time, so each run of underground plumbing can be tested on its own. You can see the plugs sitting in the pool floor with hoses running back to the rig.
Why does that matter? A pool has several separate lines underground. The skimmer, the main drain, the returns, and often a cleaner line. Pressurize all of them at once, watch the system lose pressure, and you have learned almost nothing. You know the pool leaks. You already knew that.
Cap them off individually, however, and the system tells you which line is the problem.
Step Two: Pressurize and Watch the Gauge
Once a line is isolated, he pressurizes it. Then you wait and read the gauge.
A sound line holds. A failing line bleeds off, and the rate it bleeds at hints at the size of the break. Brandon names a PPC 2000 pressure rig in the video. That is the console and gauge setup on the stand in the shallow end.
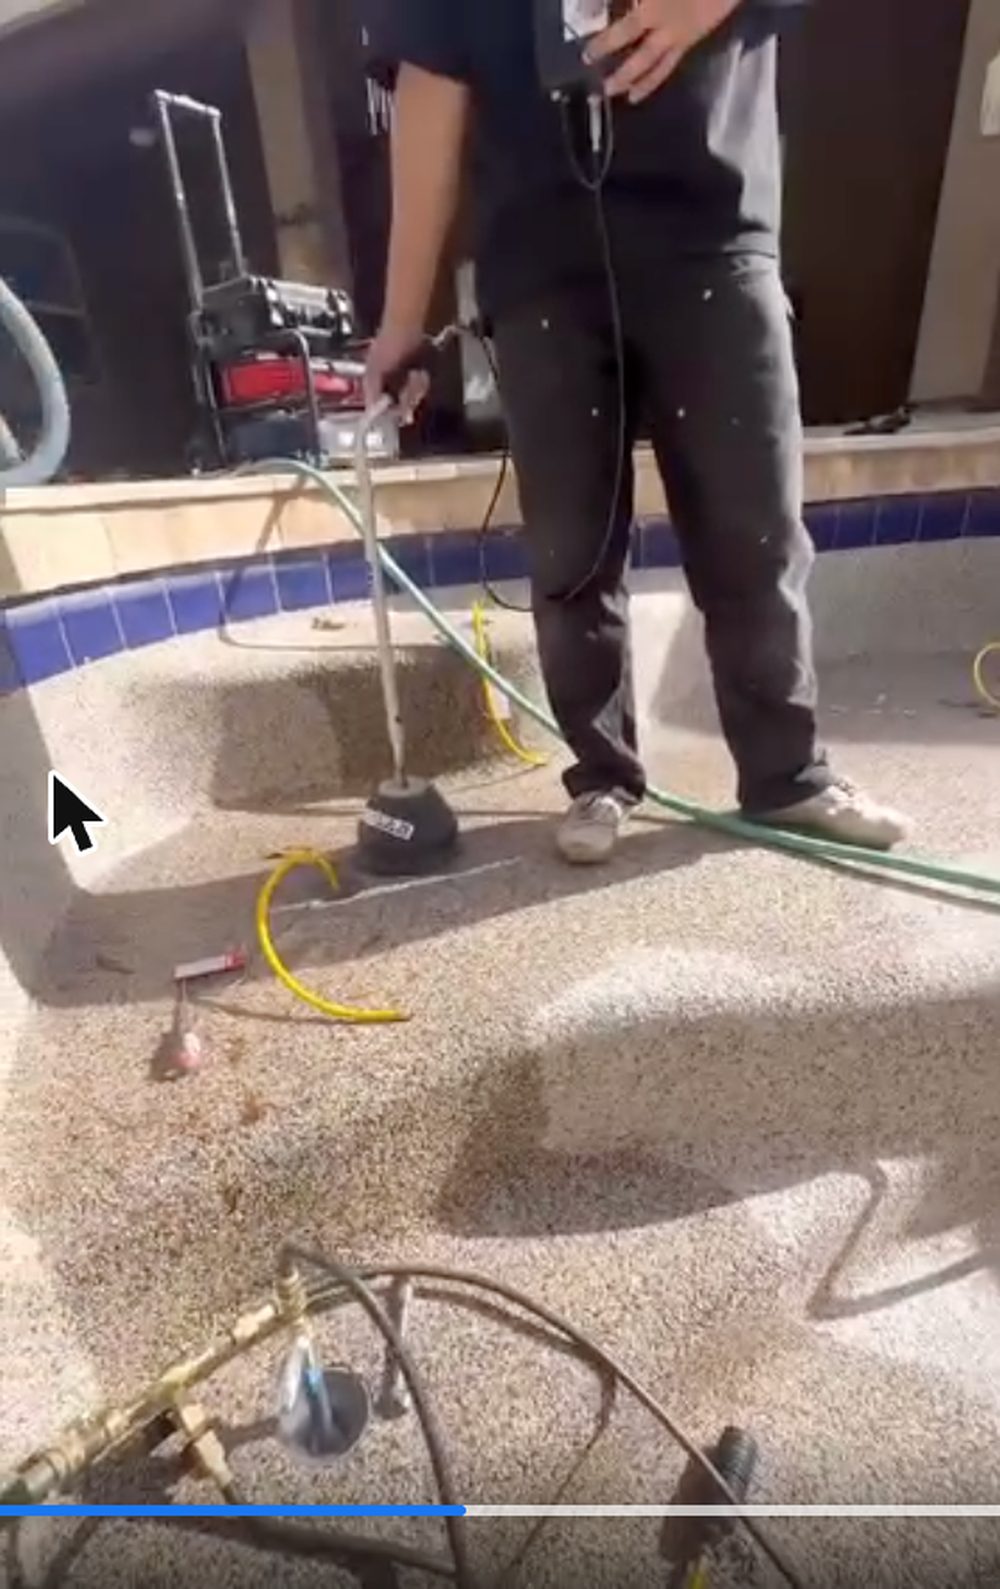
This is also the moment the job stops being guesswork. On this pool the test found a leak. Brandon then held that line under pressure so he could go and locate it.
Step Three: Find It With Sonar
Holding pressure is what makes the next part work.
With the line pressurized, air and water push out through the break continuously. That escape makes a noise. It is not a noise you can hear standing in the pool, but to a hydrophone it is loud.
This is the part Brandon wanted people to hear, which is why the video asks you to turn the volume up. The sonar picks up the escape point, and the sound gets stronger as you move over it. That is the whole trick. You are not looking for the leak, you are listening for it. Pressure gives it a voice.
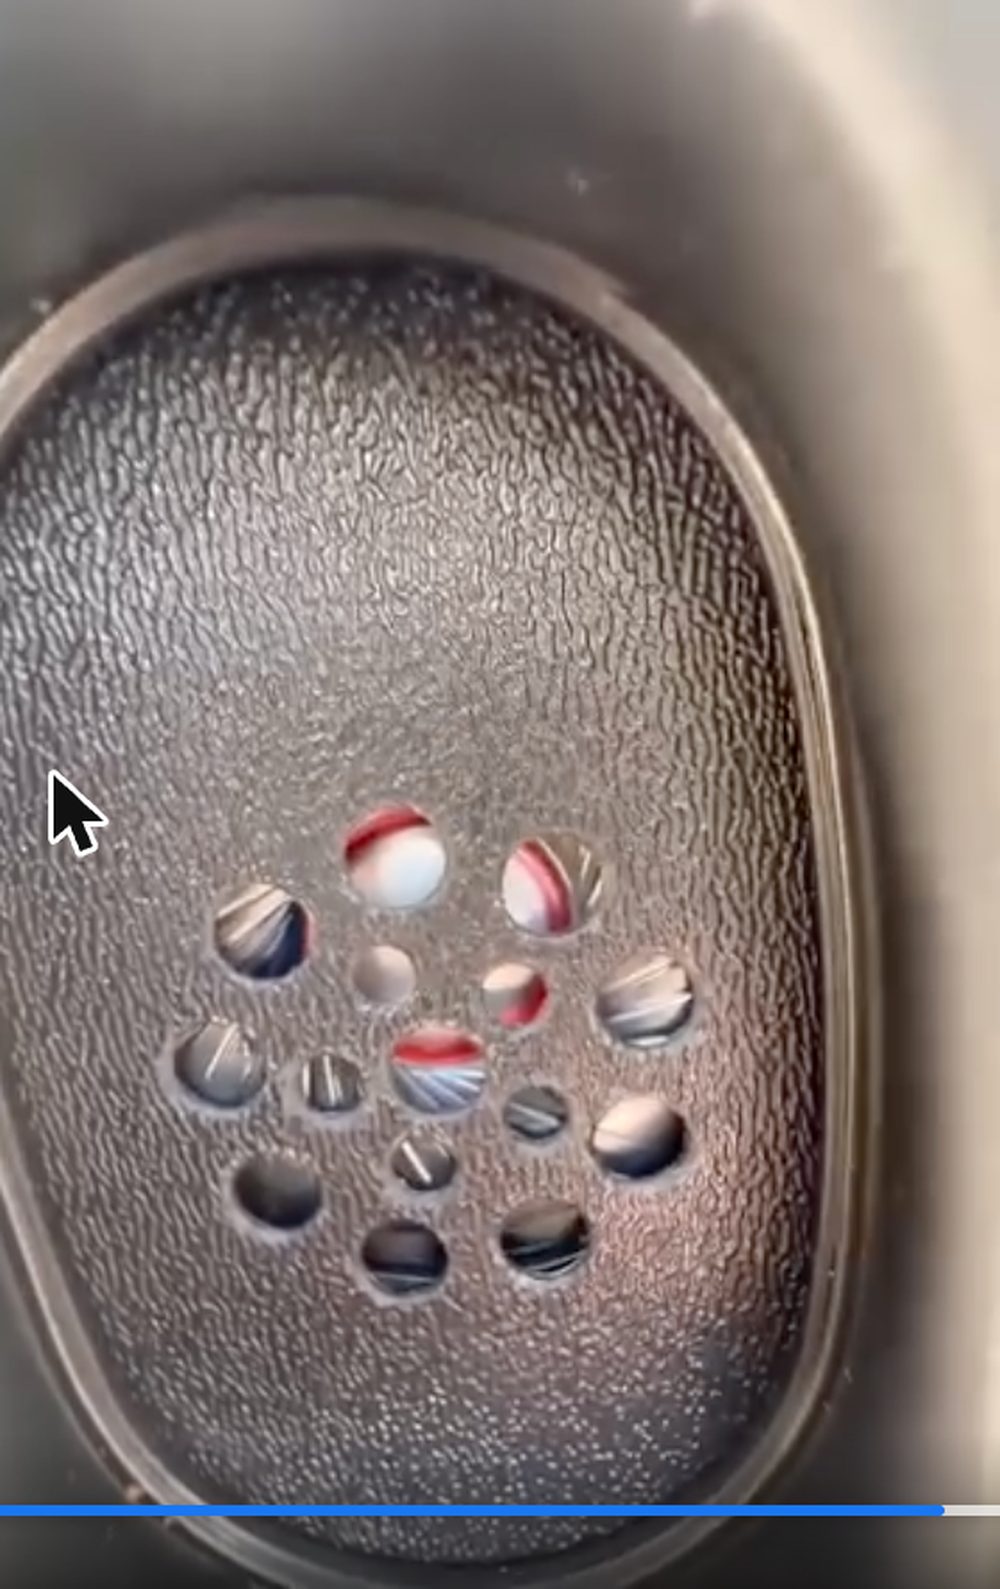
The close-up at the end of the video is the escape point itself, with air moving through it under pressure.
Why This Beats Digging
Compare that sequence to the alternative, which is someone opening the deck where they think the problem is.
A pool’s underground plumbing runs in curves and branches. The wet spot on the surface, if there even is one, almost never sits above the break. Water travels along the trench first. So dig at the symptom and you dig in the wrong place.
Isolate, pressurize, listen, mark. Done in that order, the repair crew opens one small area. Done in the wrong order, you pay for a trench and then pay again for the repair.
What You Get at the End of It
Every job ends the same way. A marked spot on the deck, a written report the same day, and two years of backing on the find.
That report is what a repair crew works from. It names the line, where to open, and roughly how deep, so nobody is guessing on your deck.
For the record, the video ends with Brandon turning the whole thing into a joke and playing a jingle over the top of it. The job underneath the joke is real, and so is the method. If you want the full rundown of how we work, that is on our pool leak detection in Chandler page.
Frequently Asked Questions
Does the pool have to be drained for leak detection?
No. This one happened to sit empty, which made it easy to film. We run most jobs with the pool full. Draining is usually a repair decision rather than a detection one.
What is a play pool?
A shallow pool with a fairly even depth throughout and no deep end. It is a common choice in Chandler and across the East Valley for families with young kids.
How do you know which line is leaking?
By capping and pressure testing each one separately. A sound line holds pressure. The one that bleeds off is the one to go looking for.
Can you really hear a leak underground?
Yes, with the right equipment and the line under pressure. Air and water escaping through a break make a continuous noise. A hydrophone picks that up clearly, even through concrete and soil.
How long does a job like this take?
Most residential pools are a single visit, and you get the written report the same day.
What does pool leak detection cost in Chandler?
Pool leak detection in Chandler is priced by the job. It depends on the pool, how many lines need isolating, and what is sitting on top of them. Call us at (602) 622-8390 and we will give you a free estimate for your pool.
Losing Water in Chandler?
If your pool is dropping more than evaporation explains, this is the process we will run on it. No digging to diagnose, a marked spot on the deck, and a written report the same day.
Call LeakLab at (602) 622-8390 for a free estimate.